 Save
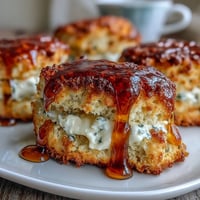
Save I'll never forget the year I decided to stop bringing the same boring cheese board to our annual holiday potluck. I was standing in my kitchen on Christmas Eve, staring at a wheel of Gouda, when it hit me—what if I turned the border itself into something beautiful? Something that told a story of winter forests and festive moments. I grabbed my knife and started slicing thin triangles, and suddenly the whole platter came alive. My daughter walked in, gasped, and said it looked like a forest of little trees. That's when The Tannenbaum Border became our family tradition.
Last December, I made this border for a dinner party where my neighbor brought her elderly mother, who hadn't smiled much since losing her husband. When she saw those cheese triangles arranged like little evergreens with grapes nestled between them, she lit up completely. She told us it reminded her of decorating her childhood home in Switzerland. That's the moment I realized this wasn't just about making food look pretty—it was about creating memories through presentation.
Ingredients
- Semi-firm cheese (Gouda, Edam, or Emmental), 250 g, well chilled: The key to perfect slicing is using cheese that's been in the fridge for at least an hour. These varieties hold their shape beautifully and won't crumble when you cut them into thin triangles. I learned this the hard way with soft cheeses that just fell apart in my hands.
- Small green seedless grapes, 150 g, washed and thoroughly dried: The drying part matters more than you'd think—wet grapes slip around and won't stay nestled between the cheese. Pat them really dry with a clean kitchen towel, and they'll tuck perfectly into your border design.
Tired of Takeout? 🥡
Get 10 meals you can make faster than delivery arrives. Seriously.
One email. No spam. Unsubscribe anytime.
Instructions
- Chill your cheese first:
- Take your cheese out of the fridge about 10 minutes before slicing, but keep it cool to the touch. Cold cheese is forgiving cheese—it won't bend or tear as you work through your cuts.
- Cut your cheese triangles:
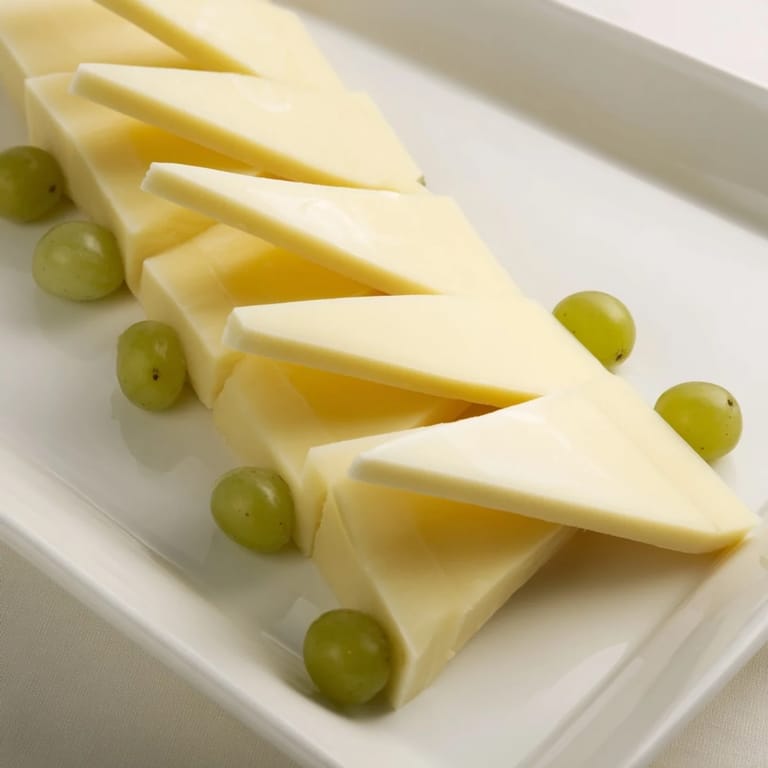
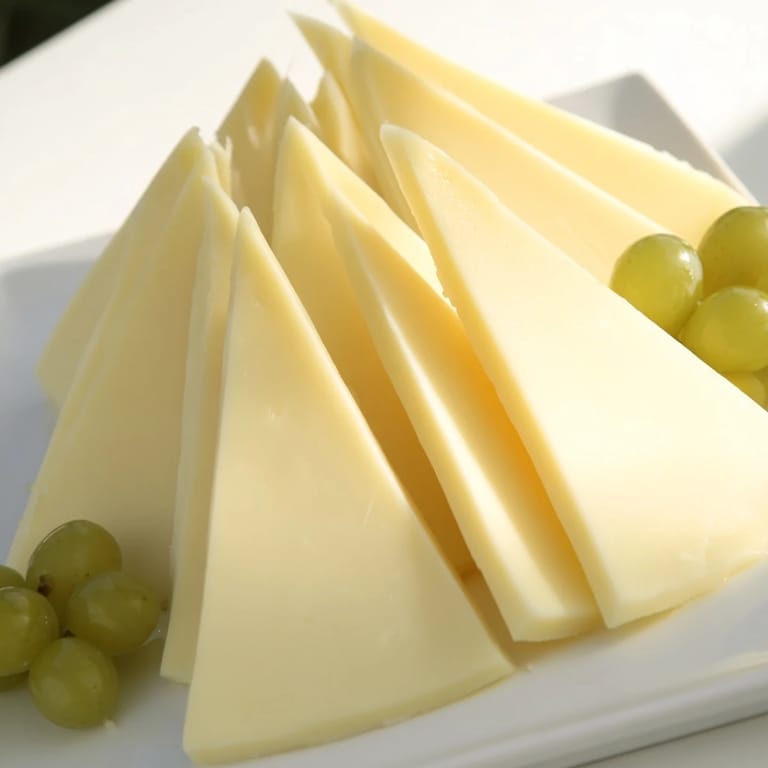
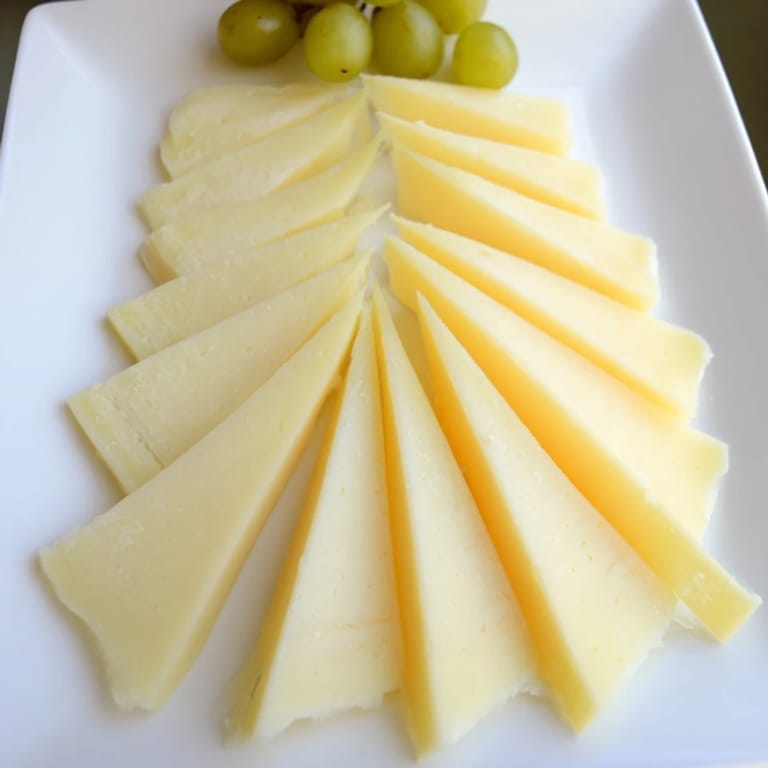
- Using a sharp chef's knife, slice the cheese into thin, triangular pieces about 5–6 cm long and roughly 1 cm wide at the base. Think of them as little pine trees. The first few cuts always feel awkward, but by the third or fourth slice, your hand finds the rhythm. Aim for consistency—uniform trees look more intentional and beautiful.
- Arrange the border frame:
- Place your wooden board or serving platter in front of you. Starting at one corner, stand the cheese triangles upright along all four edges, with the pointed ends facing outward like evergreen branches reaching toward your guests. Overlap them slightly so they look like a continuous forest, not isolated trees.
- Tuck in your grapes:
- Now comes the fun part—the grapes are your secret weapon. Nestle them between and around the cheese triangles, filling any gaps and creating depth. The green against the pale cheese looks stunning, and the grapes add little pops of color that make the whole thing feel intentional and festive.
- Step back and admire:
- Before you fill the center, take a moment to look at what you've created. Adjust any cheese triangles that look out of place, add a few more grapes if you spot gaps. This border is the frame of your masterpiece.
- Fill your center:
- Now arrange your choice of cheeses, cured meats, crackers, nuts, dried fruits, or whatever else you love in the middle. The border you've created does all the visual work—the center can be simple and let your frame shine.
 Save
Save I remember my son bringing his college roommate home for the holidays, worried about making a good impression. When they walked in and saw the Tannenbaum border on the dining table, I watched the roommate's face change completely. He started telling stories about his German grandmother and her Christmas traditions. That board became the conversation starter for the entire evening, and suddenly everyone felt more connected.
Playing with Color and Flavor
Once you master the basic design, the variations become endless and fun. I've started experimenting with adding pomegranate seeds for pops of deep red—they nestle into the gaps just as perfectly as grapes and create a more elaborate holiday look. Some years I alternate red and green grapes in a pattern, almost like a candy cane effect. The beauty of this border is that it's forgiving enough to let you play. You can also use different cheeses in the triangles themselves—cut some from aged cheddar, some from Emmental, some from Gouda—and let the color variations create natural visual interest.
Making It Truly Festive
The Tannenbaum border gains extra magic when you treat it like a winter landscape. I've found that fresh rosemary sprigs tucked into the arrangement add an authentic pine needle effect and make the whole thing smell incredible. Even small sprigs add so much character. Some friends have told me they arrange candied cranberries or small pieces of candied orange peel between the grapes for an extra touch of elegance. The key is stepping back frequently to make sure your additions enhance rather than overcrowd the design. When you're done, your board should look like an enchanted forest, not a chaotic decoration.
Building Your Cheese Board Experience
The border is just the beginning—what goes in the center matters just as much. I've learned that balance is everything: include soft cheeses, firm cheeses, maybe something aged and sharp. Add a few varieties of crackers, some cured meats if you're not keeping it vegetarian, a handful of nuts, and fresh or dried fruit. Place small cheese knives strategically so guests can serve themselves without dismantling your art. I like to arrange everything before guests arrive so the whole board tells a complete story.
- Remember that the best boards have contrast—different colors, textures, and flavors all working together like a well-composed painting
- Prep everything an hour or two before serving, but assemble the final board just 30 minutes before guests arrive so nothing has time to dry out
- Have extra napkins nearby because this beautiful board is meant to be enjoyed, picked at, and celebrated, not just admired from afar
 Save
Save Every time someone tells me they made the Tannenbaum border for their own holiday gathering, it makes my heart happy. This little trick of cheese and grapes has become a way for people to share something beautiful and thoughtful with the people they love.
Recipe FAQs
- → What type of cheese works best for this border?
Semi-firm cheeses like Gouda, Edam, or Emmental are ideal because they slice thinly while holding their shape well.
- → How should the cheese be cut to mimic pine trees?
Slice the cheese into thin triangles about 5–6 cm long and 1 cm wide at the base to create stylized pine tree shapes.
- → Can other fruits be used instead of green grapes?
Yes, adding a few red grapes or pomegranate seeds can add color contrast and enhance the festive look.
- → Is there a way to add more greenery to the border?
Decorate with fresh rosemary sprigs around the border to simulate pine needles and add aroma.
- → What tools are recommended for preparing this arrangement?
A sharp chef's knife and a large wooden board or serving platter are essential for neat slicing and presentation.