 Save
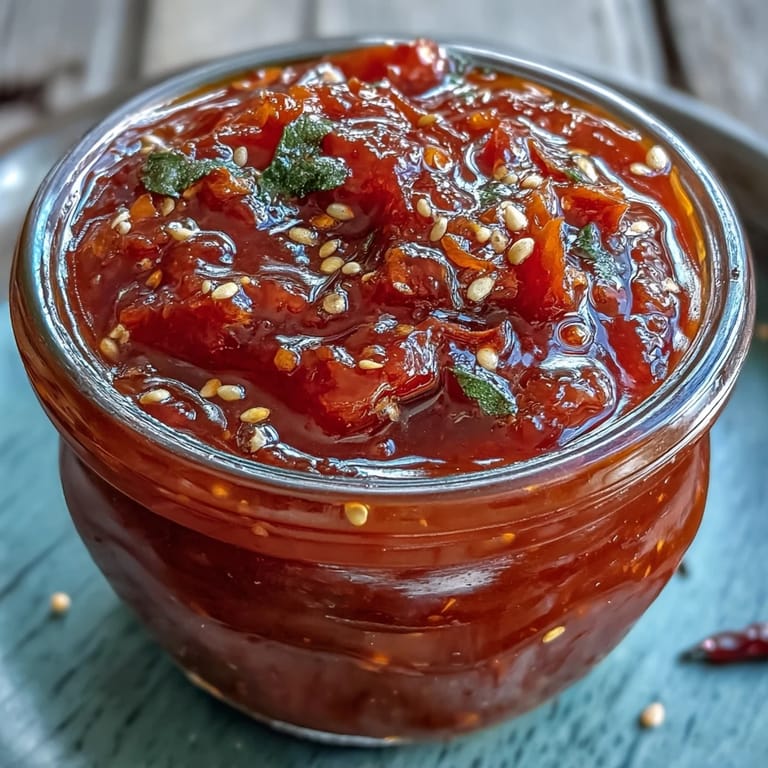
Save The first time I attempted to ferment hot sauce, the unmistakable tang of peppers hovered in the kitchen air for days, making me jumpy every time I passed the corner where the jar bubbled quietly. The transformation from raw, brash chilies to a sauce alive with depth still feels like kitchen magic. There&rsquos something captivating about trusting time and salt to do their work, especially when the end reward is this explosively flavorful condiment. As much as I love adding it to tacos or eggs, half the fun is checking the jar every day, catching both the aroma and the excitement building.
I still remember proudly spooning the very first batch over roasted sweet potato fries for a few friends, only to watch eyes widen at the layered flavor and heat. There&rsquos always a bit of laughter over whose portion is the spiciest, especially when someone discovers a particularly fiery bite.
Ingredients
- Fresh red chili peppers: The heart and heat of the sauce—choose a mix for balanced fire and color.
- Red bell pepper: This addition softens the heat and gives a rounded, sweet base to the finished sauce.
- Garlic cloves: Fresh, peeled garlic imparts a subtle pungency that somehow mellows during fermentation.
- Small shallot or onion: Either works, but shallot gives a hint of gentle sweetness that I prefer.
- Carrot: Totally optional, but I love the extra body and quiet sweetness it brings.
- Non-iodized salt: Absolutely crucial—never use table salt, as additives can spoil fermentation.
- Filtered water: Tap water sometimes has chlorine, so I always use filtered to keep the ferment happy.
- Apple cider or distilled vinegar: Wait until the end to add this, for the signature tang and to brighten the flavors.
Tired of Takeout? 🥡
Get 10 meals you can make faster than delivery arrives. Seriously.
One email. No spam. Unsubscribe anytime.
Instructions
- Make the brine:
- Whisk non-iodized salt into filtered water in a medium bowl until it disappears completely.
- Prep your veggies:
- Roughly chop peppers, bell pepper, garlic, shallot or onion, and carrot—don&rsquot worry about perfection.
- Jar layering:
- Pack all your chopped vegetables and aromatics into a squeaky clean glass jar (1-liter or quart-sized works best).
- Brine bathing:
- Pour the salty water over everything until it&rsquos just covered, then press the veggies down with a fermentation weight or brine-filled zip bag so nothing peeks above the surface.
- Cover for fermentation:
- Seal the jar loosely with a lid or use a fermentation airlock, so gases can escape but no air gets in.
- The patient week:
- Set the jar in a cool, dark place (ideally 65°F to 72°F) and check daily for seven days, keeping veggies submerged and removing any surface bubbles or scum.
- Blend everything:
- After a week, pour the entire jar (including brine) into a blender. Add vinegar and blitz until smooth, tasting and adjusting with more brine if you want a thinner sauce.
- Strain and bottle:
- If you love a silky finish, push the sauce through a fine-mesh sieve; otherwise, bottle it up rustic style.
- Store:
- Pour into a sterilized bottle or jar and refrigerate—the flavor keeps evolving for up to three months.
 Save
Save 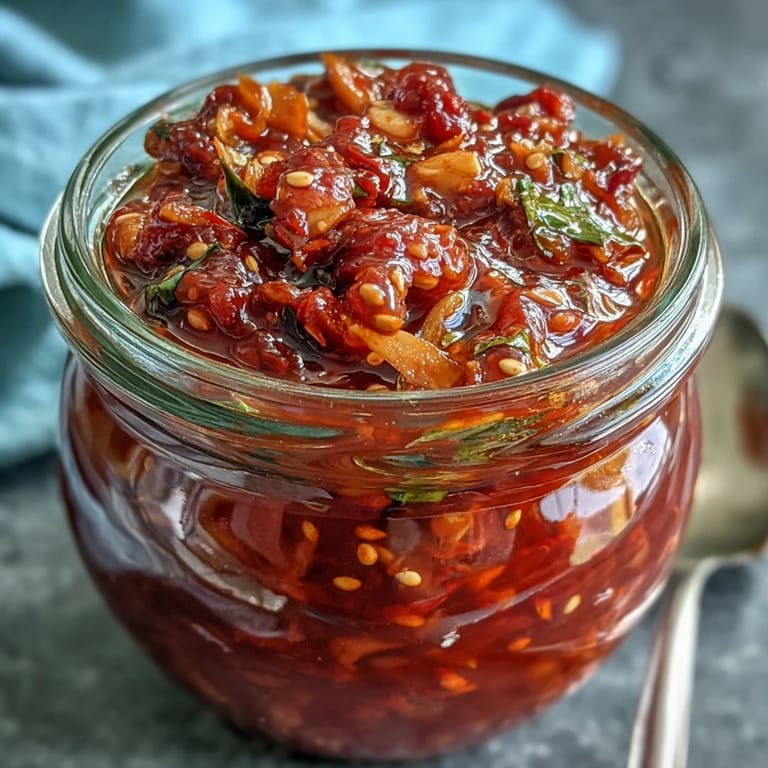 Save
Save That moment when I drizzled the finished sauce onto scrambled eggs one lazy Sunday morning felt like a quiet victory. Suddenly, breakfast was less about routine and more about savoring something alive and distinctly my own.
What a Week of Fermenting Teaches You
Fermenting peppers might sound intimidating, but those daily peeks into the jar quickly turn into a small ritual I look forward to. The kitchen takes on a faint, zesty aroma by the third day, signaling progress even before a single taste. The real fun is noticing the gentle fizz each time you nudge the jar—it&rsquos living proof you&rsquore on the right track. A week later, patience pays off in golden flavor instead of overwhelm.
Adding Your Own Signature Twist
Some batches I get bold and tuck in a few peppercorns or coriander seeds, just to see how the flavors evolve. Changing up heat levels is as simple as tossing in an extra habanero or swapping vinegar types for a gentler tang. There are no fixed rules, just plenty of capacity to make each jar feel like it has a little of your personality in every drop.
Caring for the Sauce and Serving Ideas
Once you pour your sauce into jars, it continues to mellow and layer in flavor, rewarding patience even after that first taste. Keep a bottle at arm’s reach in the fridge and use it wherever you'd add a splash of brightness—on grilled vegetables, into mayo for a spicy spread, or in soups for instant depth.
- If it thickens with time, just stir in a touch of extra vinegar.
- Always use a clean spoon to dip in, so it keeps fresh longer.
- Remember, the sauce flavors intensify and deepen after just a week in the fridge.
 Save
Save 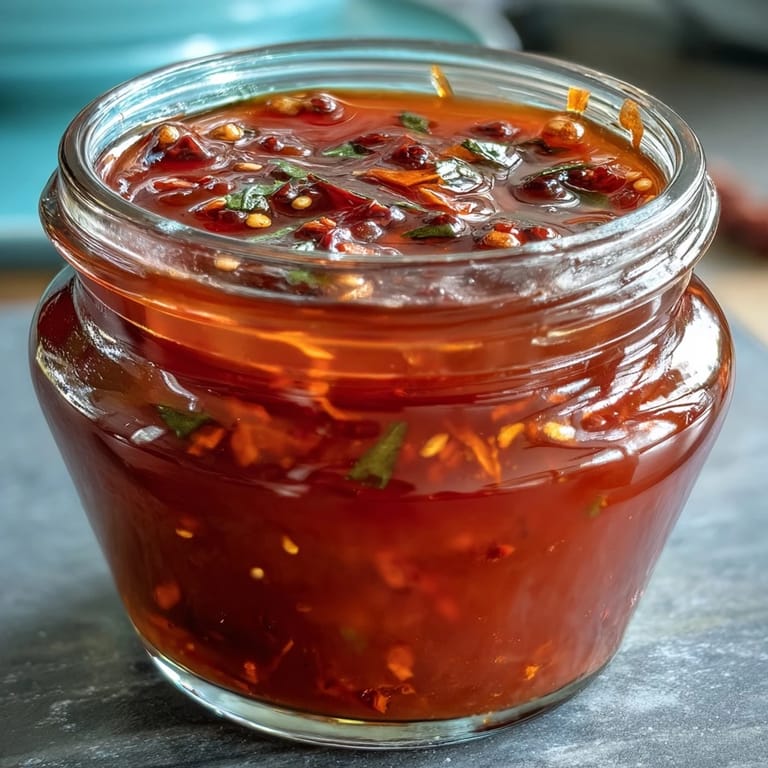 Save
Save Bottle up some sunshine and fire with your next batch—it’s almost impossible not to feel quietly triumphant each time you pop open the jar.
Recipe FAQs
- → What salt concentration is best?
A 3% salt brine (about 15 g salt per 500 ml water) balances safety and flavor, encouraging lacto-fermentation while keeping vegetables crisp.
- → Which peppers give the best flavor?
Use a mix of fresnos, jalapeños or serranos for bright heat and a red bell pepper for sweetness and body. Add habanero or Thai chilies for extra kick.
- → How do I prevent mold during fermentation?
Keep solids fully submerged under brine with a weight, check daily, and skim any surface scum. A cool, dark spot at 65–72°F reduces spoilage risk.
- → When should I blend and add vinegar?
After seven days of fermentation, blend the vegetables with some brine and 2 tbsp vinegar to stabilize flavor and acidity; adjust for consistency and tang.
- → Should I strain the sauce?
Strain through a fine-mesh sieve for a smooth pourable sauce, or leave it rustic for more texture and body—both are fine based on preference.
- → How long will it keep refrigerated?
Stored in a sterilized bottle, the sauce stays good for up to three months in the fridge; flavors continue to mellow and develop over time.