 Save
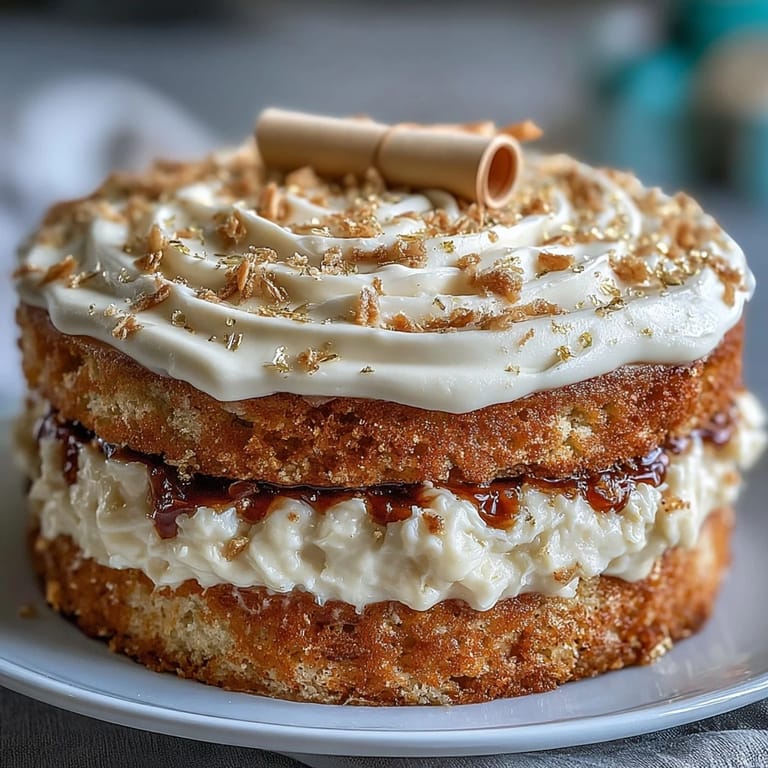
Save My sister called me in a panic three days before her graduation, asking if I could bake her a cake that felt as special as the moment itself. I'd never made a celebration cake with gold foil before, but something about the challenge excited me more than it terrified me. Standing in the kitchen with flour dust in my hair and butter softening on the counter, I realized this wasn't just about baking—it was about marking a milestone worth remembering. The vanilla sponge would be simple and elegant, but the gold accents would make it unmistakably festive.
I'll never forget frosting that cake at midnight the night before the party, my kitchen a beautiful mess of powdered sugar and gold leaf, while my sister sat on the counter eating leftover buttercream with a spoon and telling me stories about high school. We laughed at how delicate the gold foil was, how it stuck to everything except where we actually wanted it, and by the end we had created something that looked magazine-worthy. When guests arrived the next day and saw that cake, their faces lit up in a way that made every sticky finger and moment of doubt completely worth it.
Ingredients
- All-purpose flour (2 ½ cups): This is your structure, so measure it by spooning into the cup rather than scooping, which can pack it too tightly and make the cake dense.
- Baking powder (2 ½ tsp): Don't skip the sifting step with the flour—even tiny lumps of old baking powder can create odd holes in your cake.
- Salt (½ tsp): Just a pinch, but it makes the vanilla taste richer and the sweetness less cloying.
- Unsalted butter (1 cup, softened): Room temperature butter creams properly; cold butter will leave grainy streaks in your batter that won't bake out.
- Granulated sugar (2 cups): This is what makes the cake tender and gives it that delicate crumb you want for a celebration cake.
- Large eggs (4, room temperature): Cold eggs don't emulsify well with the butter, so pull them from the fridge about 30 minutes before you start.
- Vanilla extract (1 tbsp): Use real vanilla here because this cake is simple enough that the vanilla flavor actually matters and shines through.
- Whole milk (1 cup, room temperature): Alternating it with the flour creates a tender crumb; cold milk can seize the batter slightly.
- Unsalted butter for frosting (1 ½ cups, softened): Soften this separately so you can make it extra pale and fluffy for the smoothest frosting.
- Powdered sugar (5 cups, sifted): Sift this before measuring or the frosting will be grainy and thick.
- Vanilla extract for frosting (2 tsp): A little goes a long way in frosting, so don't double it thinking more is better.
- Whole milk or heavy cream (3–4 tbsp): Add this gradually to reach the right spreading consistency; you might not need all of it.
- Edible gold foil sheets: These are fragile and sticky, so handle them only with clean, dry hands or plastic tweezers to avoid fingerprints.
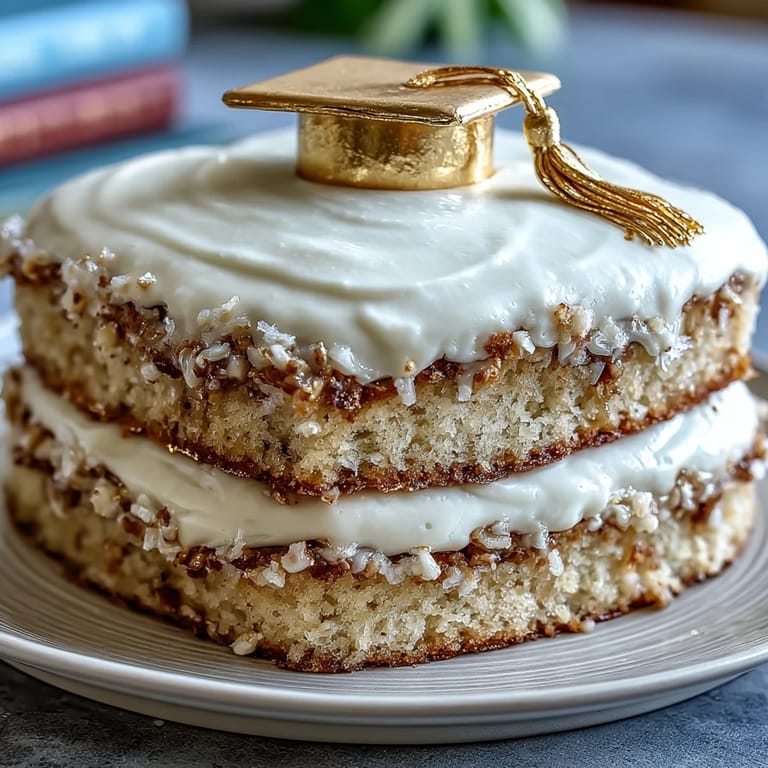
- Diploma-shaped cake topper: You can buy these pre-made or craft one from fondant, which looks more elegant and is entirely edible.
Tired of Takeout? 🥡
Get 10 meals you can make faster than delivery arrives. Seriously.
One email. No spam. Unsubscribe anytime.
Instructions
- Get Your Oven Ready and Prep the Pans:
- Preheat your oven to 350°F and grease those 9-inch pans well with butter, then line them with parchment paper so the cakes slide out like a dream. This step matters more than you'd think—a stuck cake is a heartbreak before the party even starts.
- Mix the Dry Ingredients:
- Whisk the flour, baking powder, and salt together in a medium bowl until everything is evenly distributed. This aerates the flour slightly and ensures the baking powder isn't clumpy.
- Cream the Butter and Sugar:
- Beat the softened butter and sugar together on high speed for about 3 to 4 minutes until it looks pale, fluffy, and almost like frosting. This is where the tenderness of your cake is born, so don't skip this step or rush it.
- Add the Eggs One at a Time:
- Drop each egg in individually, beating well after each addition before adding the next one. If you dump them all in at once, the batter can break and you'll end up with an oily, grainy texture.
- Stir in the Vanilla:
- A simple stir is all this needs; you're not aerating anymore, just blending.
- Alternate the Flour and Milk:
- Start with the flour, then milk, then flour, then milk, then flour, mixing just until combined each time. Stop as soon as you don't see streaks of flour—overmixing toughens the cake.
- Divide and Bake:
- Pour the batter evenly into the two prepared pans, smooth the tops with an offset spatula, and bake for 28 to 32 minutes until a toothpick in the center comes out clean. The kitchen will smell incredible.
- Cool and Release:
- Let the cakes cool in their pans for 10 minutes—this sets the structure just enough—then turn them out onto wire racks to cool completely. Trying to frost a warm cake is like trying to ice a puddle, so be patient here.
- Make the Buttercream:
- Beat the softened butter on high speed for about 3 minutes until it's pale and creamy, then gradually add the sifted powdered sugar, vanilla, salt, and just enough milk to reach a smooth, spreadable consistency. Taste it as you go; adjust vanilla or salt if needed.
- Level and Layer:
- If the cake tops domed up during baking, trim them level with a serrated knife for even layers. Place the first layer on your serving plate, spread a thick layer of buttercream on top, then crown it with the second layer.
- Apply the Crumb Coat:
- Spread a thin, even layer of frosting all over the entire cake to trap any crumbs, then chill for 30 minutes. This is what makes your final frosting look professional and clean.
- Frost Smoothly:
- Remove the cake from the fridge and frost it with the remaining buttercream, using an offset spatula and turning the cake on a turntable if you have one. Take your time here; smooth frosting is half the celebration.
- Apply the Gold Foil:
- Using tweezers, carefully place small pieces of edible gold foil onto the frosted cake, pressing gently so they adhere. Work in sections and don't touch the gold with your fingers, as it will stick to your skin instead of the cake.
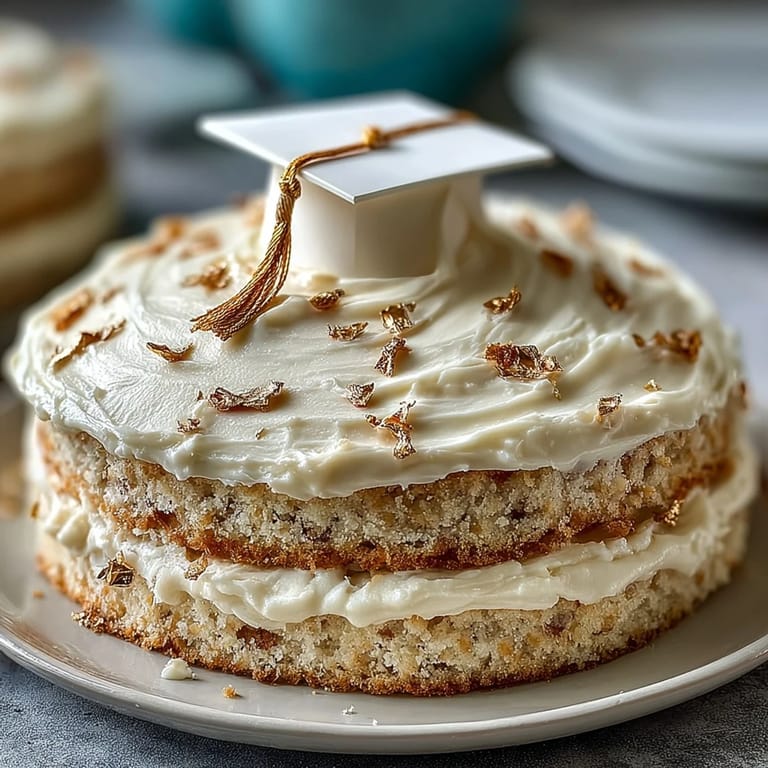
- Top with the Diploma and Chill:
- Place the diploma topper at the center or off to one side, add any sprinkles or confetti if you like, then chill the cake briefly before serving. Bring it to room temperature about 30 minutes before guests arrive for the best flavor.
 Save
Save Watching my sister cut into that cake in front of everyone, seeing the clean vanilla layers and that golden shimmer catch the light, felt like I'd done something bigger than just baking. The cake was delicious, sure, but the real magic was in creating something beautiful enough to match the importance of the moment.
Customizing for School Colors
If you want to personalize this cake beyond the gold foil, gel food coloring is your friend. You can tint the buttercream in school colors—just add a tiny amount of gel color to the butter before you beat in the sugar, and it will distribute evenly throughout the frosting. I've made versions with navy and gold, crimson and white, and each time it felt like the cake was telling a story specific to that graduate.
Making Your Own Fondant Diploma
Store-bought toppers are convenient, but making your own diploma from fondant is surprisingly simple and looks more elegant. Roll out white or cream-colored fondant, cut it into a rectangle, roll it like a scroll, tie it with a thin fondant ribbon, and let it dry for a day on parchment paper. You can write the graduate's name or initials with edible markers for a truly personal touch that makes the cake feel custom-made.
Storage and Serving Tips
This cake actually tastes better the day after you make it, when the flavors have settled and the crumb has set. Store it covered at room temperature for up to two days, or refrigerate it for up to four days if you made it ahead. When you're ready to serve, let it come back to room temperature for about 30 minutes so the buttercream softens slightly and the cake is moist on your tongue, not cold and dense.
- If the cake needs to travel to the party, frost and chill it completely, then transport it in a sturdy cake box with the topper packed separately to apply on-site.
- Have a long, sharp knife dipped in hot water ready for cutting—a clean slice matters when the cake looks this beautiful.
- If gold foil sticks to the knife while cutting, gently wipe it off with a clean cloth between cuts.
 Save
Save Baking a cake for a milestone is an act of love disguised as flour and butter. Make this one with care, and it'll be as memorable as the day you're celebrating.
Recipe FAQs
- → What type of flour is best for this cake?
All-purpose flour is recommended for a balanced texture, ensuring a tender yet sturdy crumb perfect for layering and decoration.
- → How should the edible gold foil be applied?
Use tweezers to gently place the gold foil sheets onto the frosting, handling them carefully to avoid tearing or dissolving from moisture.
- → Can I add extra flavors to the cake batter?
Yes, adding a teaspoon of almond extract enhances the vanilla base with a subtle nutty aroma without overpowering the cake.
- → What’s the best way to achieve smooth buttercream frosting?
Beat softened butter until creamy before gradually adding sifted powdered sugar, vanilla, and milk to create a spreadable and smooth consistency.
- → How to ensure the cake layers stay moist?
Be careful not to overbake; test doneness with a toothpick and cool layers completely before frosting to lock in moisture.