 Save
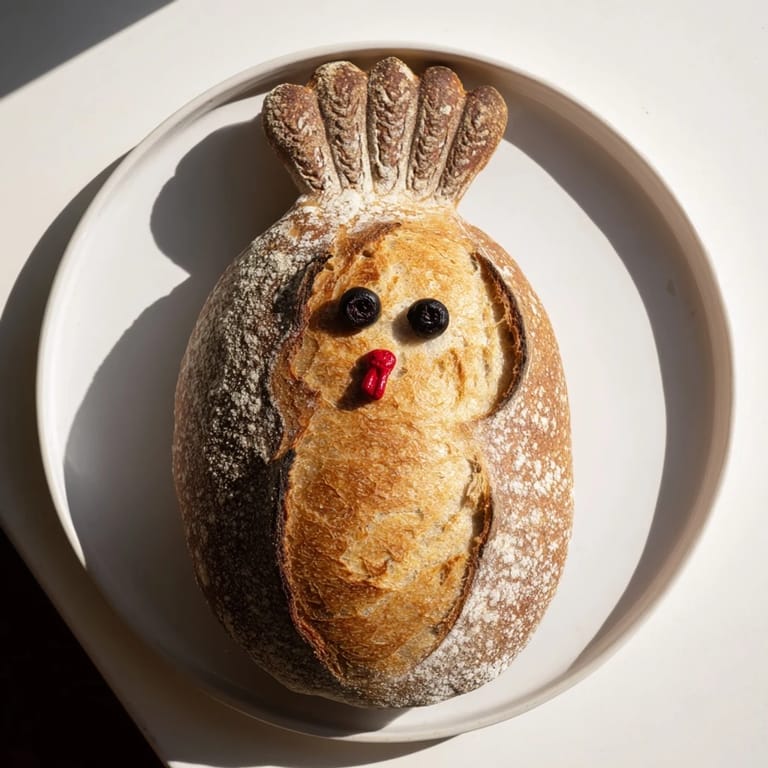
Save The first time I attempted a shaped sourdough bread was on a rainy Sunday when my regular boule felt too ordinary for a gathering. I'd seen those stunning artisanal turkey loaves on social media and thought, why not let bread be the showpiece instead of just a side? My kitchen was filled with flour dust and the tangy smell of fermenting dough, and honestly, the shaping took longer than I expected. But when that golden bird emerged from the oven, even my teenage kids stopped scrolling their phones to take pictures. Now it's become our Thanksgiving tradition, and I love how something so simple—flour, water, salt, time—can become edible art.
Last year, my sister-in-law actually thought Id bought it from a fancy bakery until she saw the flour on my apron. We served it with herb butter, and everyone fought over the tail feathers first because those crispy edges are pure magic. My niece helped me attach the olive eyes, and she insisted the turkey needed a name, so hes been called Gerald ever since. Theres something deeply satisfying about working with your hands, feeling the dough develop strength through each fold, knowing youre creating something that will nourish both body and spirit.
Ingredients
- 500 g bread flour: The higher protein content creates better structure and that sought-after chewy texture we all love in artisan bread
- 350 g water: Room temperature water helps your starter wake up and work its magic without shocking it
- 100 g active sourdough starter: This living ingredient is what gives the bread its characteristic tang and beautiful open crumb structure
- 10 g fine sea salt: Salt not only enhances flavor but also strengthens the gluten network for better oven spring
- Decoration items: Black olives or peppercorns for eyes, red bell pepper for the wattle—these little touches bring your bread turkey to life
- Egg wash or plant milk: Creates that gorgeous golden sheen and helps seeds stick if youre adding feather accents
Tired of Takeout? 🥡
Get 10 meals you can make faster than delivery arrives. Seriously.
One email. No spam. Unsubscribe anytime.
Instructions
- Mix and rest your dough:
- Combine the flour and water in a large bowl until no dry flour remains, then cover and let it rest for 30 to 45 minutes to let the flour fully hydrate
- Add life to the dough:
- Incorporate your active sourdough starter and sea salt, mixing until everything is evenly distributed and the dough starts to come together
- Build strength through folds:
- Perform stretch and folds every 30 minutes for 2 hours, grabbing one edge of the dough and pulling it up and over the center, rotating the bowl each time
- Let it ferment:
- Cover the bowl and let it bulk ferment at room temperature for 5 to 7 hours until it has doubled in size and looks bubbly with a slightly domed surface
- Shape your turkey parts:
- Turn the dough onto a lightly floured surface and gently shape one large oval for the body, a small round for the head, and several teardrop shapes for tail feathers and wings
- Assemble your bird:
- Arrange the body oval on parchment paper, attach the head with a dab of water, and position the feathers and wings around it, using a sharp knife to score feather details
- Add the finishing touches:
- Press in black olive pieces for eyes and attach the red bell pepper wattle, then cover and let it proof for 1 to 2 hours until slightly puffy
- Bake to golden perfection:
- Slide the parchment onto your preheated baking stone at 230°C (450°F) and bake for 20 minutes with steam, then reduce heat to 200°C (400°F) for another 20 minutes until deeply golden and hollow sounding
 Save
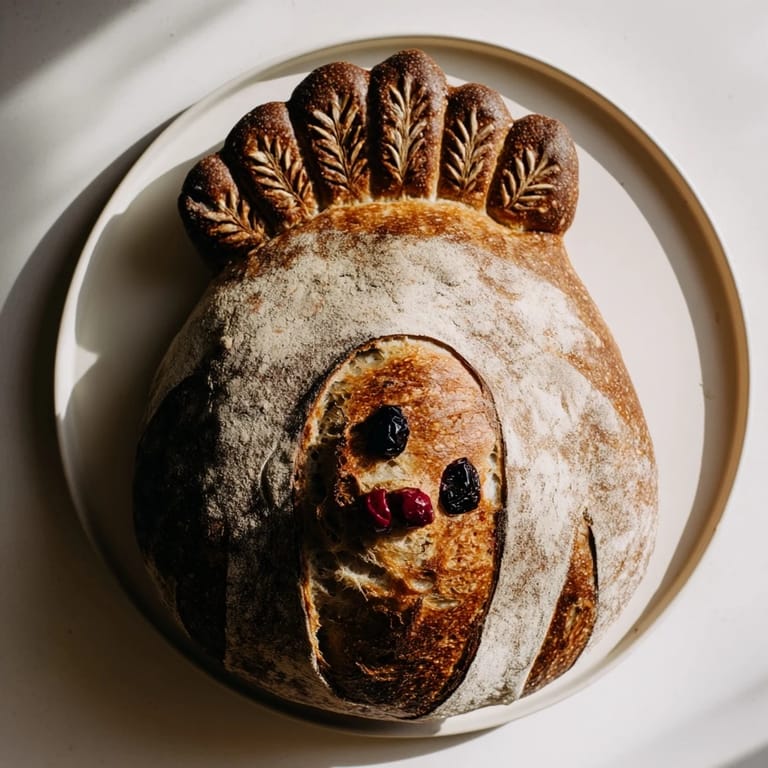
Save One year I rushed the proofing time because guests were arriving early, and poor Gerald ended up looking more like a squashed chicken than a majestic turkey. We still ate every crumb, but the dense texture taught me that good bread cannot be rushed. Now I start this recipe the day before, letting the overnight fermentation work its slow magic while I sleep. Theres something meditative about the rhythm of sourdough—mix, fold, wait, shape, bake—that grounds me amid holiday chaos.
Mastering The Shaping Process
Working with wet dough can feel frustrating at first, but I've learned that slightly damp hands help more than heavily floured ones. When shaping the individual pieces, keep them covered with a damp towel while you work so they dont develop a dry skin. The tail feathers should be slightly thicker at the base so they hold their shape during baking, and dont worry about making them perfectly uniform—slight irregularities make your turkey look more charming and handcrafted.
Creating That Perfect Crust
Steam is the secret to achieving that bakery worthy crackly crust and dramatic oven spring. I toss a few ice cubes into a preheated cast iron skillet on the bottom rack right after sliding in the bread, creating an instant burst of steam. The steam keeps the crust flexible during the first minutes of baking, allowing the bread to expand fully before setting into that beautifully caramelized exterior. If you dont have a baking stone, a heavy baking sheet turned upside down works surprisingly well.
Making It Your Own
Once you've mastered the basic turkey shape, the variations are endless. You can mix chopped rosemary or dried cranberries directly into the dough for extra flavor, or use different seeds to create colorful feather patterns. Some years I make smaller individual turkeys for each place setting, which guests absolutely adore as edible party favors. The key is having fun with it—this bread is meant to bring joy, not stress.
- Try brushing the feathers with different colored plant milks for a natural dyed effect
- If some pieces detach during baking, just reattach them with a little honey or softened butter when serving
- Leftover turkey bread makes the most incredible Thanksgiving leftover sandwich youve ever tasted
 Save
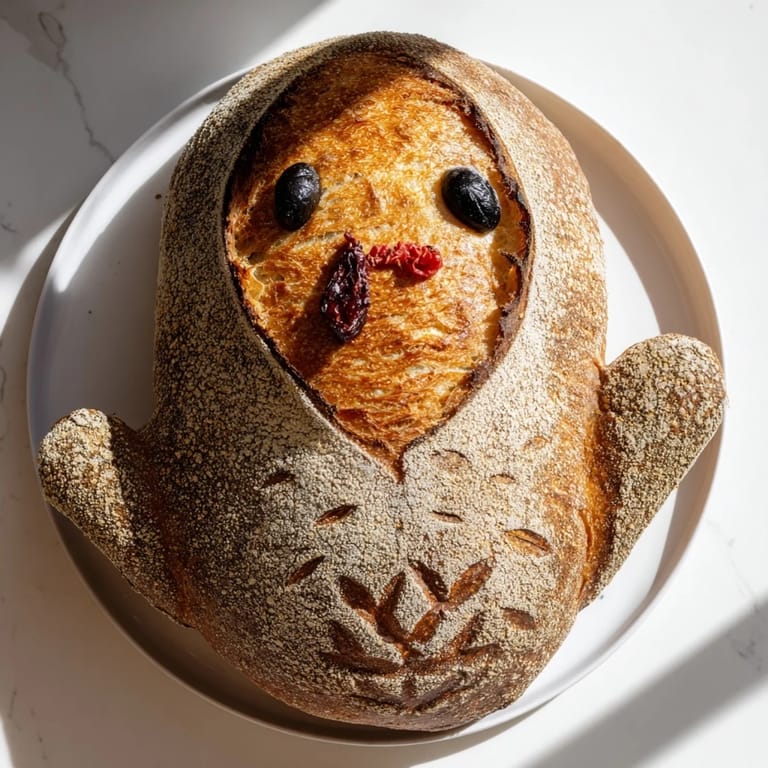
Save There's profound satisfaction in serving something you created with your own hands, watching peoples eyes light up before they even take their first bite. This bread turkey has become more than just a recipe in our household—it's a holiday tradition, a conversation starter, and a reminder that the best things in life really do take time, patience, and a little bit of flour on your face.
Recipe FAQs
- → How long does it take to make the turkey-shaped sourdough?
The entire process takes 11-13 hours total, including 30 minutes of preparation, 5-7 hours for bulk fermentation, 1-2 hours for final proofing, and 40 minutes of baking time. The long fermentation period is essential for developing the characteristic sourdough flavor and proper texture.
- → Can I make this turkey bread vegan?
Absolutely! Simply skip the egg wash or brush the assembled loaf with plant-based milk instead. The dough itself contains no animal products, making it naturally vegan. You can also use extra dough for the wattle rather than red bell pepper to maintain the all-ingredients approach.
- → What makes this sourdough different from regular bread?
This naturally leavened bread uses a live sourdough starter instead of commercial yeast, resulting in a complex tangy flavor profile and improved digestibility. The long fermentation process breaks down gluten and phytic acid, creating a more nutritious product with superior texture and keeping qualities.
- → Do I need special tools to shape the turkey design?
Basic kitchen tools work perfectly: a sharp knife or lame for scoring feather details, parchment paper for assembly, and water as 'glue' to attach the head, wings, and tail feathers. Olives or peppercorns create the eyes, while red bell pepper or dough forms the wattle. A baking stone helps achieve optimal oven spring and crust development.
- → How should I store and serve the turkey-shaped loaf?
Store completely cooled bread in a paper bag at room temperature for up to 3 days, or freeze sliced portions for longer storage. Serve as a stunning centerpiece with butter, olive oil, or alongside hearty soups and seasonal salads. The loaf makes an impressive addition to holiday buffets and dinner parties.
- → Can I add herbs or other flavors to the dough?
Certainly! Fresh or dried herbs like rosemary, thyme, or sage can be incorporated during the mixing phase. Some bakers also add roasted garlic, dried cranberries, or toasted nuts for extra flavor dimensions. Just keep additions to 10-15% of the total flour weight to maintain proper dough structure and fermentation.