 Save
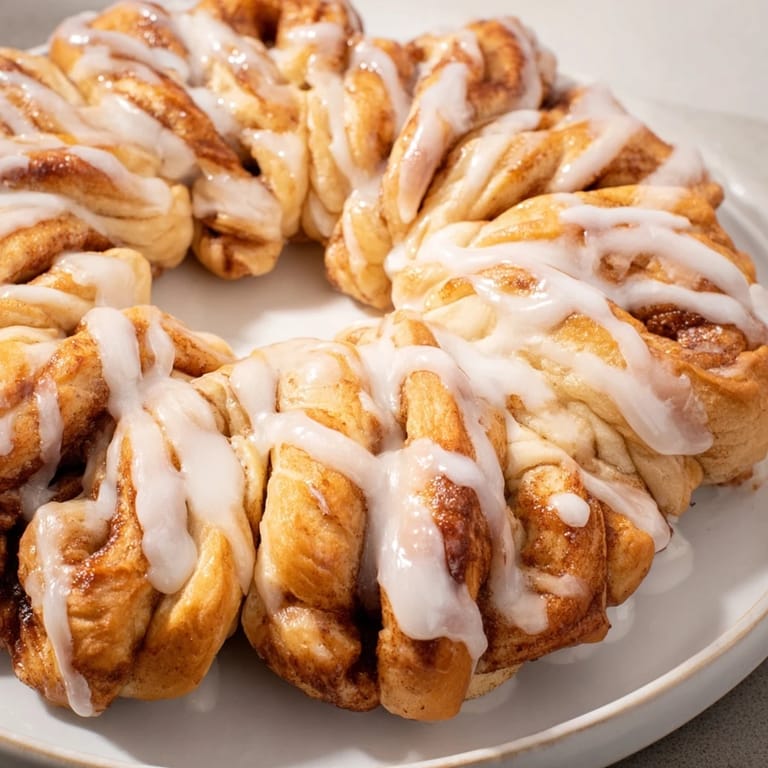
Save My sister called me in a panic the morning of her winter party, asking if I could bring something festive that didn't require last-minute runs to the store. I remembered watching my grandmother shape these cinnamon roll snowflakes years ago—how she twisted the strips with such precision, turning plain dough into something magical. That afternoon, I pulled together the soft, buttery dough and spent the hour before her party arranging those swirls into a snowflake that made everyone gasp when I walked through the door. It's become my go-to now, a recipe that feels like showing up with a little bit of warmth in the coldest months.
I've made this snowflake three times now, and each time it ends up being the thing people reach for first. My nephew, who usually ignores breakfast entirely, asked for a second piece before his eggs got cold. There's something about the pull-apart shape that makes people feel like they're in on a secret—like they're allowed to break apart something so pretty.
Ingredients
- All-purpose flour (3 1/4 cups): The base of your dough needs to be measured carefully, so spoon it into the measuring cup and level it off rather than scooping directly from the bag, which packs it down and throws off your ratios.
- Granulated sugar (1/4 cup) and active dry yeast (2 1/4 tsp): These two activate together in the warm milk, creating that bubbly mixture that tells you everything's working right.
- Warm milk (3/4 cup at 110°F): Too hot and you'll kill the yeast; too cool and nothing happens—use a thermometer if you're unsure, or just make sure it feels like a warm bath on your inner wrist.
- Unsalted butter (1/4 cup melted for dough, 1/4 cup softened for filling): Keep these separate and at different temperatures; one goes into the dough warm, the other spreads over your layers.
- Large egg (room temperature): Cold eggs shock the dough, so take it out of the fridge about 30 minutes before you start.
- Salt (1/2 tsp): This seems small, but it balances the sweetness and makes the yeast work more efficiently.
- Packed light brown sugar (1/2 cup) and ground cinnamon (2 tsp): Mix these together before you start assembling, so you're not fumbling with jars over your carefully buttered layers.
- Powdered sugar (1 cup), milk (2–3 tbsp), and vanilla extract (1/2 tsp): Whisk these into a drizzle that's thick enough to cling but thin enough to pool slightly into the crevices of your snowflake.
Tired of Takeout? 🥡
Get 10 meals you can make faster than delivery arrives. Seriously.
One email. No spam. Unsubscribe anytime.
Instructions
- Wake up your yeast:
- Pour warm milk into a bowl, add the sugar and yeast, then step away and let it sit for 5 to 10 minutes until it smells alive and looks frothy on top. If it stays flat and quiet, your yeast is dead and you'll need to start over with a fresh packet.
- Build the dough:
- Stir the melted butter, egg, and salt into that foamy mixture, then gradually add the flour, stirring until you have a shaggy mass that's ready to be worked. Don't rush this part—let the flour absorb the liquid gradually so you don't end up with a mess that's too wet or too dry.
- Knead until it's silky:
- Turn the dough onto a lightly floured surface and work it for 5 to 7 minutes until your hands feel less sticky and the dough becomes smooth and elastic, pushing back when you poke it. This is when baking becomes a little meditative—the transformation happens under your fingertips.
- Give it time to rise:
- Place the dough in a greased bowl, cover it with a clean towel, and let it sit in a warm spot (near a sunny window, on top of the fridge, or in a barely-warm oven with the light on) for about an hour until it's puffy and doubled. Poking it gently with your finger should leave a slight indent that doesn't spring back immediately.
- Preheat and prep:
- While the dough rises, heat your oven to 350°F and line a baking sheet with parchment paper. Having everything ready means you're not rushing when the dough is ready to shape.
- Punch down and divide:
- Once risen, give the dough one good punch to release the air, then divide it into three equal pieces. Roll each piece into a 12-inch circle, working gently so the dough bounces back if you overstretch it—let it rest a minute if that happens.
- Layer with butter and cinnamon sugar:
- Place the first dough circle on your prepared sheet and spread half the softened butter across it, then sprinkle with half the cinnamon-sugar mixture. Top with the second circle, repeat with the remaining butter and cinnamon sugar, then place the third circle on top.
- Create the snowflake structure:
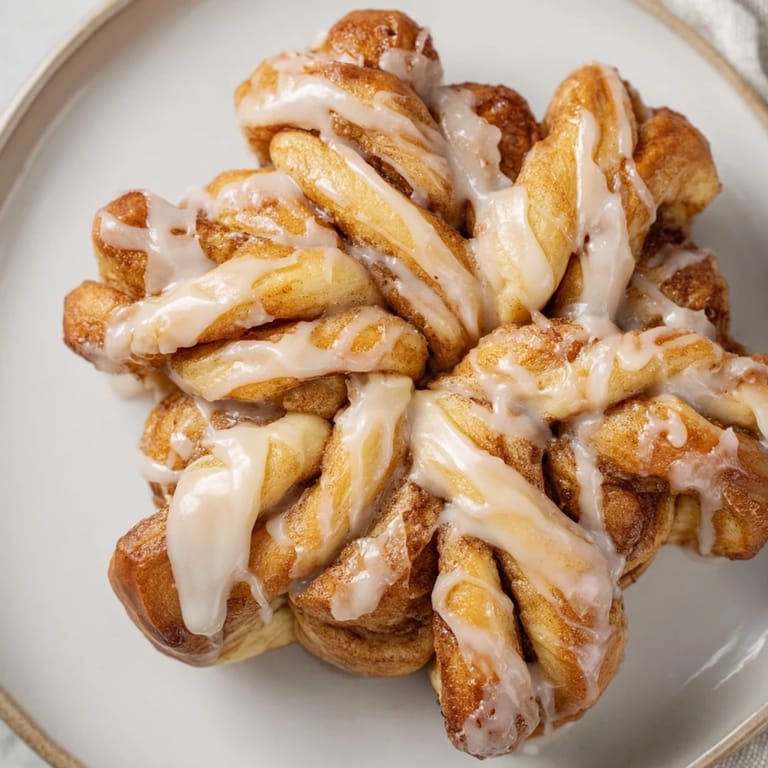
- Set a small glass in the center of your three-layer stack (don't press down hard—just use it as a guide), then use a sharp knife to cut from the glass outward, making 16 equal strips that radiate like snowflake points. Take two adjacent strips, twist them away from each other twice, then pinch the ends together to form a point—repeat with all the pairs until your snowflake is formed.
- Remove the glass and let it rise again:
- Carefully lift out the glass, cover your snowflake with a towel, and let it sit for 15 minutes so the shaped pieces puff up slightly and feel a little less fragile.
- Bake until golden:
- After 22 to 25 minutes in the oven, the edges should be deep golden and the center should smell like toasted cinnamon and butter. Don't overbake—you want soft, tender pieces, not crispy ones.
- Cool and ice:
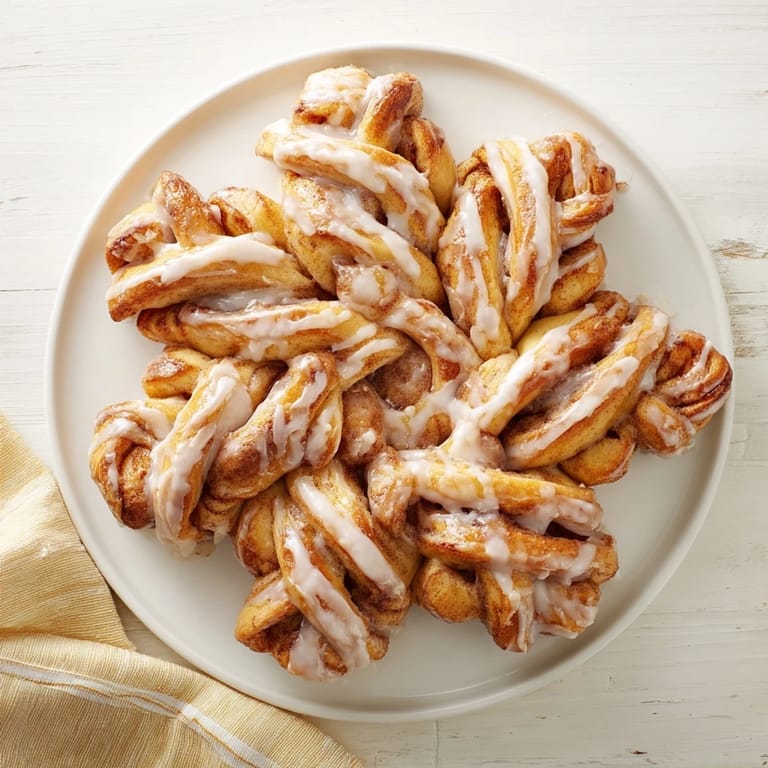
- Let it cool for 10 minutes, then whisk together your icing ingredients and drizzle it generously over the warm snowflake so it melts slightly into the crevices. Serve it pull-apart style and watch people tear into it.
 Save
Save The best part happened when my friend's three-year-old pointed at the snowflake on the table and said it looked like the snowflakes she'd been cutting from paper. Everyone laughed, but then she pulled off a twisted piece and it was theirs—not Mom's, not the bakery's, but something we'd made together that morning.
Why the Snowflake Shape Matters
The snowflake isn't just pretty—it's functional. Because each strip is thin and twisted, they bake faster than a traditional cinnamon roll log, so you get that perfect balance of tender dough and set icing. The shape also means everyone gets their own piece to pull away, which changes the whole experience from slicing and plating to sharing straight from the pan.
Variations Worth Trying
I've experimented with this recipe a few times, and it's surprisingly flexible. Once I added chopped toasted pecans and raisins to the cinnamon mixture, and the texture became incredible—nutty and chewy all at once. Another time, I used half milk and half heavy cream for the dough, which made it even richer and more indulgent, though honestly, the standard version is just right.
Making It Ahead and Pairing It
You can shape and chill the snowflake the night before, then let it rise and bake in the morning—just cover it tightly and add 5 to 10 extra minutes to the rise time if it's been in the fridge. The flavor actually deepens overnight, so it's worth the planning. Serve it with strong coffee or hot chocolate, and maybe some unsweetened whipped cream if you're feeling generous.
- If you're short on time, the dough can rise in a warm oven (turned off) or on a heating pad set to low.
- Leftover pieces keep for two days covered at room temperature, and they're still soft and delicious.
- If anyone has a nut allergy, skip the pecans and raisins, but the snowflake stands beautifully on its own.
 Save
Save There's something deeply satisfying about pulling apart a snowflake you've shaped with your own hands, especially when it's shared with people you care about. This recipe hits that sweet spot between impressive and actually doable.
Recipe FAQs
- → How do I shape the snowflake?
Stack three dough circles layered with cinnamon sugar, cut into 16 strips around a glass in the center, then twist pairs of strips and pinch their ends to create the snowflake shape.
- → Can I substitute the milk in the dough?
Yes, for a richer dough, replace half the milk with heavy cream to add extra tenderness and flavor.
- → What is the best way to ensure the dough rises properly?
Let the dough rise in a warm, draft-free area for about one hour or until doubled in size, and cover it to maintain humidity.
- → How should I store any leftovers?
Keep leftovers in an airtight container at room temperature for up to two days, or refrigerate and gently warm before serving.
- → Can I add nuts or dried fruit to the filling?
Yes, chopped toasted pecans or raisins can be folded into the cinnamon sugar filling for added texture and flavor.
- → What is the ideal oven temperature for baking?
Bake the snowflake at 350°F (175°C) until golden brown, usually around 22–25 minutes.