 Save
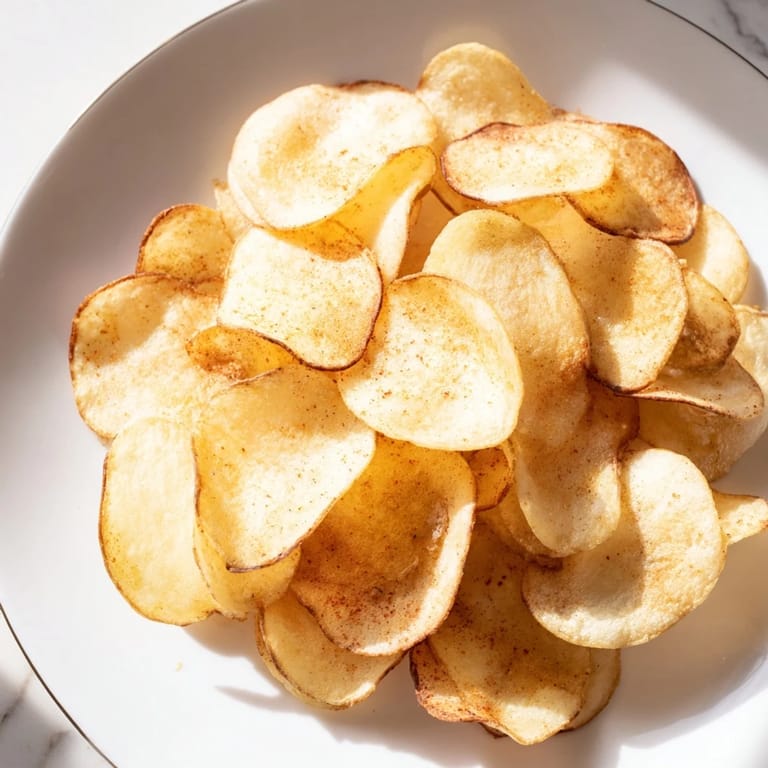
Save The first time I made chips in my air fryer, I expected them to taste thin and disappointing—just another kitchen gadget promise. But the moment I bit into one, still warm from the basket, I realized I'd stumbled onto something magical: potatoes transforming into golden shards of pure crunch without the guilt of deep frying. Now whenever friends visit, they ask if I've made a fresh batch, and I've stopped counting how many times I've made these.
I remember making these for a movie night when my partner's sister was visiting, and she genuinely thought I'd bought them from somewhere fancy until I admitted I'd made them in the kitchen twenty minutes earlier. The look on her face was worth every thin slice of potato I'd labored over, and now they're her go-to request whenever she stops by.
Ingredients
- Russet potatoes (2 large): The starch content in russets makes them naturally crispy; they're forgiving and reliable, the kind of potato that doesn't betray you midway through cooking.
- Olive oil (1 tablespoon): This light coating is all you need—too much and they won't crisp, too little and they stick to the basket and dry out.
- Fine sea salt (½ teaspoon): Fine salt adheres better to thin slices than coarse salt, seasoning every bite instead of just the surface.
- Freshly ground black pepper (¼ teaspoon, optional): A whisper of pepper adds warmth without overwhelming the delicate potato flavor.
- Smoked paprika (¼ teaspoon, optional): If you use it, you'll taste a subtle smokiness that makes people ask what brand of chips you've hidden in your pantry.
Tired of Takeout? 🥡
Get 10 meals you can make faster than delivery arrives. Seriously.
One email. No spam. Unsubscribe anytime.
Instructions
- Slice with intention:
- Use a mandoline if you have one—it sounds intimidating but gives you consistency that a knife just can't match. Aim for about 1.5 mm thickness; thinner means crispier, but too thin and they'll burn. I learned this after my first batch turned into bitter paper-thin wisps.
- Soak away the starch:
- Cold water removes the excess starch that makes chips soggy. Let them sit for the full 10 minutes while you preheat your air fryer; this isn't a step to rush.
- Dry completely:
- This matters more than you'd think. Wet potatoes steam instead of crisp, so pat them with paper towels until they're truly dry to the touch.
- Season evenly:
- Toss the slices in a bowl with oil and seasonings, making sure every piece gets coated. This is where your chips either sing or disappoint, so don't skip the tossing.
- Preheat your air fryer:
- Three minutes at 180°C (360°F) matters—a cold basket means uneven cooking and soggy bottoms.
- Layer single, not stacked:
- Chips overlapping or piled high won't crisp evenly. Work in batches if needed; patience here pays off in crunch.
- Flip halfway through:
- At the 8-minute mark, give the basket a shake or flip the chips with tongs. This ensures golden color on both sides.
- Cool on the rack:
- The cooling step is crucial—chips continue crisping as they cool, so don't eat them straight from the fryer or they'll feel slightly chewy.
 Save
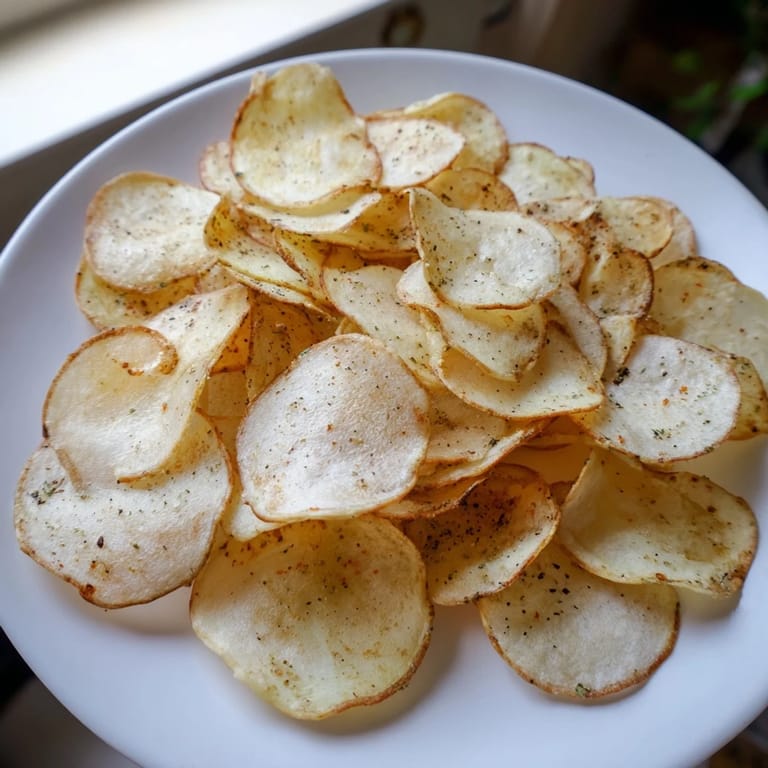
Save There was a quiet moment last week when I caught my kid sneaking chips from the cooling rack, eyes closed, genuinely savoring something I'd made. That's when I realized these aren't just snacks—they're proof that the simplest things, made with care, can feel genuinely special.
The Magic of Thin Slicing
The thickness of your slices determines everything about these chips. At 1.5 mm, you hit the sweet spot where the edges crisp up and shatter while the interior stays tender; go thicker and you're eating steak fries instead of chips, go thinner and they become brittle dust. A mandoline takes the guesswork out, but if you're using a knife, practice on the second potato—the first one is always your learning moment.
Why Starch Matters More Than You Think
Excess starch is what makes homemade chips soggy and dense, the thing that separates a restaurant-quality crisp from a disappointing chew. That cold water bath isn't busywork; it's the invisible step that transforms your result. I didn't understand this until a friend who works in catering mentioned it offhandedly, and suddenly my third batch was worlds better than my first two combined.
Customization and Storage
These chips are endlessly adaptable, which is part of their charm—garlic powder, chili powder, nutritional yeast, or even a sprinkle of Everything Bagel seasoning transforms them into different snacks entirely. Fresh is always best, but stored in an airtight container, they keep for two days and taste remarkably good even as they soften slightly. I've also tried freezing cooked chips and reheating them briefly, which works if you need them ready at a moment's notice.
- Yukon Gold potatoes work beautifully if you prefer a slightly buttery flavor and don't mind a slightly less crispy texture.
- You can season before or after cooking; before means more even seasoning, after means you control the intensity better.
- Double-check your oil and spice labels if you cook for anyone with allergies, as cross-contamination in manufacturing can happen.
 Save
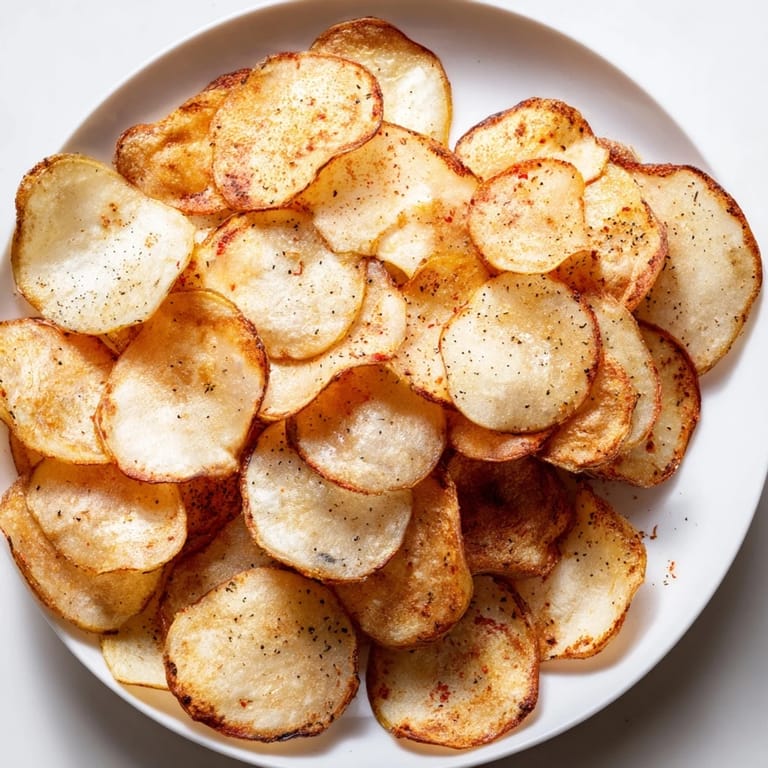
Save Homemade air-fryer chips have become my answer to the 3 p.m. slump or the sudden craving that would normally send me to a convenience store. They're proof that the smallest kitchen project can deliver genuine joy.
Recipe FAQs
- → What type of potatoes work best for these chips?
Russet potatoes are ideal due to their starchy content, which crisps well when thinly sliced and cooked.
- → How thin should the potato slices be?
For optimal crispness, slice potatoes about 1.5 mm (1/16 inch) thick using a mandoline or sharp knife.
- → Why soak the potato slices in water before cooking?
Soaking removes excess starch, helping the chips cook more evenly and become crispier.
- → Can I add additional seasonings?
Yes, garlic powder, chili powder, or your preferred spice blends can enhance flavor before air frying.
- → How should I store the chips if not eaten immediately?
Once fully cooled, store chips in an airtight container to preserve crunch for up to two days.
- → Is peeling the potatoes necessary?
Peeling is optional; leaving the skin adds texture and nutrients but may alter crispness slightly.